An Overview
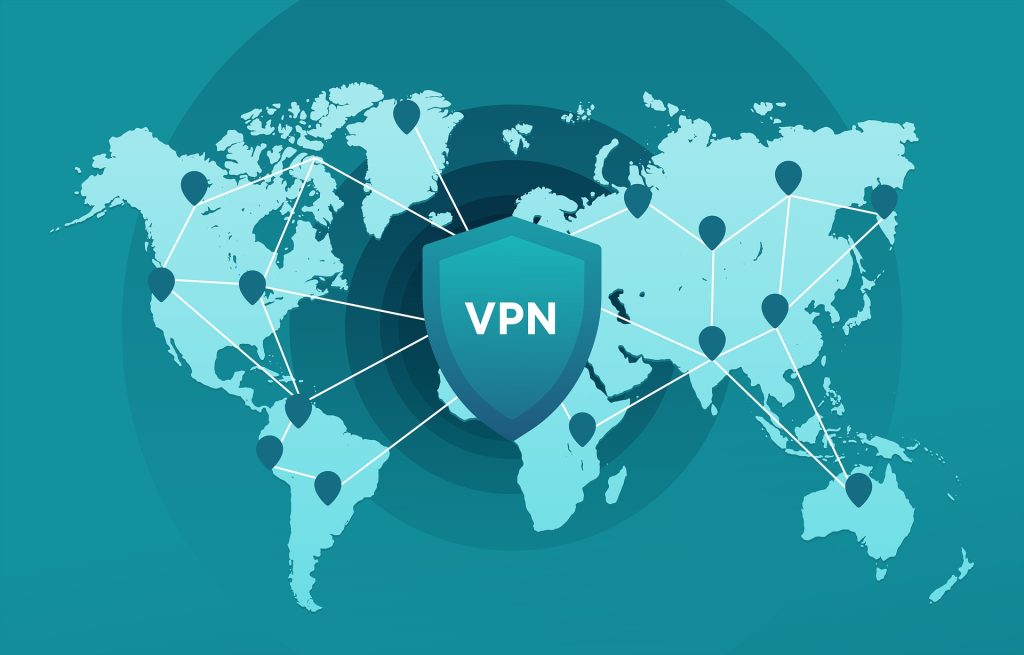
Virtual Private Networks (VPNs) are becoming increasingly popular for both personal and business use. They provide a secure connection over the internet and protect users’ privacy by encrypting data transmitted between devices. Fortinet VPN is one such VPN solution that has been gaining traction among users for its high-security features, ease of use, and reliability. In this blog, we will take a closer look at Fortinet VPN and explore its key features and benefits.
What is Fortinet VPN?
Fortinet VPN is a security-focused VPN solution that is developed and maintained by Fortinet, a leading cybersecurity company. It offers multiple VPN options, including SSL VPN, IPsec VPN, and PPTP VPN, to cater to different user requirements. Fortinet VPN provides secure remote access to the network, enables safe communication between remote devices, and ensures that sensitive data is protected while in transit.
Features:
- Strong Encryption: Fortinet VPN uses advanced encryption algorithms to encrypt data transmitted over the internet, ensuring that sensitive information is protected from prying eyes.
- Easy Deployment: Fortinet VPN can be easily deployed on both Windows and Mac platforms, making it accessible for a wide range of users.
- User-Friendly Interface: The VPN client is user-friendly and easy to use, making it simple for even non-technical users to connect to the VPN.
- High Availability: Fortinet VPN provides high availability, ensuring that the VPN connection remains stable and reliable, even during network outages.
- Scalability: The VPN solution is scalable, allowing organizations to add or remove users as needed, making it a cost-effective option for businesses of all sizes.
Benefits:
- Increased Security: Fortinet VPN provides a secure connection over the internet, protecting sensitive information from cyber-attacks and other security threats.
- Improved Productivity: By enabling remote access to the network, Fortinet VPN allows users to work from anywhere, improving productivity and efficiency.
- Cost-Effective: The VPN solution is scalable, making it a cost-effective option for businesses of all sizes.
- Easy to Use: With its user-friendly interface, Fortinet VPN is easy to use, even for non-technical users.
Fortinet VPN is a high-security VPN solution that provides users with a secure connection over the internet. Its strong encryption, easy deployment, user-friendly interface, high availability, and scalability make it a popular choice among users. Whether you are an individual or a business, Fortinet VPN provides an excellent solution for securing your internet connection and protecting your sensitive information.
To create an SSL VPN in Fortinet, you will need to perform the following steps:
- Log in to the Fortinet web-based interface
- Navigate to VPN > SSL > Settings
- In the Server Settings section, enable the SSL VPN and configure the necessary settings such as IP Pool, Virtual IP, and Port.
- In the Tunnel Mode section, configure the settings for the SSL VPN tunnel such as Authentication, Tunnel Mode Client Settings, and SSL VPN Access.
- Next, create an SSL VPN policy by navigating to Policy & Objects > IPv4 Policy.
- In the New Policy window, select SSL VPN as the Incoming Interface and configure the source and destination addresses.
- Under the Action section, select SSL VPN as the action to be taken.
- In the SSL VPN section, select the desired SSL VPN portal.
- Finally, assign the SSL VPN policy to the desired security profile by navigating to User & Device > Authentication > Portals.
Note: This is a high-level overview of the steps involved in creating an SSL VPN in Fortinet. The actual configuration may vary based on the specific requirements of your network.
Creating an IPsec VPN on Fortinet is a straightforward process that can be done through the web-based Fortinet Management Interface. Here are the steps to create an IPsec VPN on Fortinet:
- Log into the Fortinet Management Interface: Open a web browser and log into the Fortinet Management Interface using the IP address of the Fortinet device and your login credentials.
- Navigate to the VPN Settings: Once you are logged in, go to the “VPN” section.
- Create a Virtual IP: Go to the “Virtual IPs” section and click “Create New”. Enter a name for the virtual IP, select “IPsec” as the type, and specify the public IP address of the remote VPN gateway.
- Create an IPsec Tunnel: Go to the “IPsec Tunnels” section and click “Create New”. Enter a name for the tunnel, select the virtual IP you just created, and specify the local and remote subnets.
- Configure the IPsec Profile: Go to the “IPsec Profiles” section and click “Create New”. Enter a name for the profile, and configure the encryption, authentication, and key settings.
- Assign the IPsec Profile to the Tunnel: Go back to the IPsec Tunnel configuration and select the IPsec profile you just created from the “Profile” drop-down menu.
- Save and Activate the Tunnel: Click “Save” to save the IPsec Tunnel configuration and activate it by clicking the “Activate” button.
- Verify the VPN Connection: Verify that the VPN connection is established and functioning correctly by checking the status of the IPsec Tunnel and the VPN logs.
Creating an IPsec VPN on Fortinet is a simple process that can be done through the Fortinet Management Interface. By following the above steps, you can set up a secure and reliable IPsec VPN connection that protects your data while transmitting it over the internet.
If you want to see a detailed video tutorial then leave a comment. I will upload it to Technibas youtube channel.